Flutter開啟網頁WebView官方套件
–
WebView套件:webview_flutter
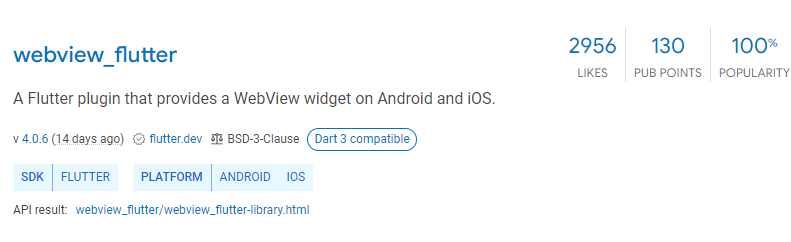
WebView有不同的套件可以達成,但非官方的套件可能會有年久失修的問題
這裡還是推薦使用Google Flutter Team 官方開發的套件
Step1.安裝套件
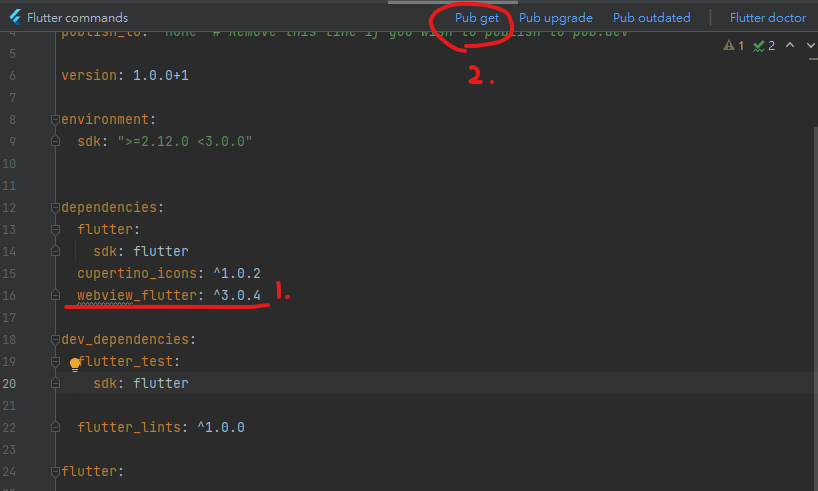
pubspec.yaml檔中寫好要安裝的套件版本
這裡以webview_flutter: ^3.0.4 為例
並執行Pub get安裝
Step2.使用套件
在要使用的dart檔案中先引用套件
import 'package:webview_flutter/webview_flutter.dart’;
並在Scaffold中的body寫以下內容
return Scaffold(
appBar: AppBar(),
body: const WebView(
initialUrl: 'https://tw.yahoo.com',
javascriptMode: JavascriptMode.unrestricted,
),
);

跑起來就會像上圖這樣, 成功在框架內顯示網頁
若覺得appBar那條不好看
可以用以下這樣將bar改成其他顏色並且縮小
appBar: PreferredSize(
child: AppBar(
backgroundColor: Colors.white, //bar整體顏色
elevation: 0, //不要bar的陰影
),
preferredSize: const Size.fromHeight(10), //高度
),
–
報錯:net::ERR_CLEARTEXT_NOT_PERMITTED
Android 9.0以上版本 若使用http非https網址將會產生此報錯
解決方案:
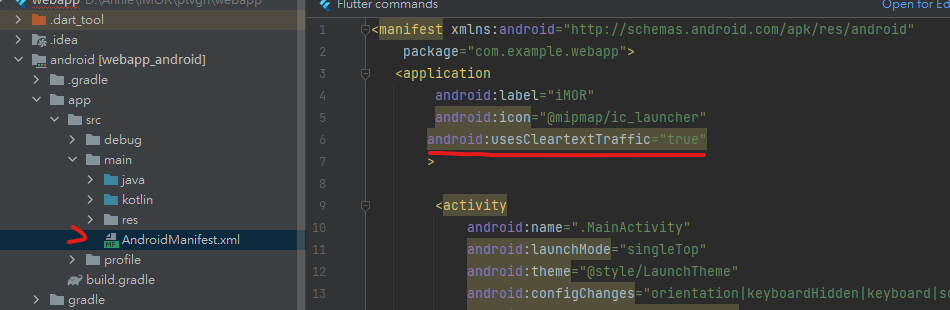
AndroidManifest.xml文件,在application中添加如下內容:
android:usesCleartextTraffic="true"
就能解決net::ERR_CLEARTEXT_NOT_PERMITTED的報錯問題